When it comes to putting your boat away for the season, the engine needs top priority. Properly winterizing it means stabilizing the fuel, changing the oil, flushing the cooling system with a good marine-grade antifreeze, and fogging the cylinders to keep internal rust at bay. Think of it as essential maintenance that prevents freeze damage and corrosion, making sure your boat is ready to go for a trouble-free launch next spring.
Why Winterizing Your Boat Engine Matters
Before you even think about grabbing a wrench, let's talk about the real-world consequences of skipping this job. Forgetting to winterize your engine isn't just a gamble; it's a surefire way to face some catastrophic and expensive damage. This isn't just another chore on the list—it's the single most important thing you can do to protect your investment over the long, quiet offseason.
For most boaters in North America and Europe, the season winds down around October. This is precisely when winterization becomes non-negotiable. If you skip it, you're looking at potential fuel system damage, internal corrosion, and the dreaded engine freeze. All of these lead to big repair bills and a shorter life for your engine. You can learn more about how seasonal maintenance impacts engine longevity right here.
The High Cost of Neglect
Up north, the danger is crystal clear. Any water left in the engine block or manifolds will freeze, expand by about 9%, and generate enough force to crack solid cast iron. This isn’t a small problem; a cracked block usually means a complete engine replacement, a repair that can easily run into thousands of dollars.
But don't think you're off the hook in warmer climates. Down in humid spots like South Florida, the enemy is quieter but just as destructive: corrosion. Trapped moisture and old, acidic oil will spend months slowly eating away at critical internal parts like bearings, pistons, and cylinder walls. Whatever you think you're saving by skipping the process, you’ll pay for it ten times over in springtime repairs.
Here's a surprising fact: most winter-related insurance claims don't come from the coldest states. They often come from milder areas where a single, unexpected cold snap catches boat owners off guard, leading to devastating freeze damage.
To help you visualize what you're trying to prevent, here’s a quick breakdown of the main goals and the ugly consequences of ignoring them.
Winterization Goals at a Glance
| Goal | What It Prevents | Consequence of Neglect |
|---|---|---|
| Prevent Freeze Damage | Cracking of the engine block, manifolds, and risers. | Complete engine failure, requiring costly replacement. |
| Stop Internal Corrosion | Rust and pitting on cylinder walls, pistons, and bearings. | Reduced compression, oil consumption, and premature engine wear. |
| Stabilize the Fuel System | Varnish and gum buildup in carburetors, injectors, and fuel lines. | Hard starting, poor performance, and expensive fuel system cleaning. |
| Preserve Electrical Systems | Battery drain, terminal corrosion, and moisture damage to connections. | Dead battery in the spring and potential electrical failures. |
As you can see, each step directly counters a specific threat that your engine faces during long-term storage.
The Primary Goals of Winterization
When you boil it all down, a proper winterization job is all about tackling four core objectives. Each one addresses a specific threat that comes with letting a boat sit for months, ensuring you have a smooth start when the water calls your name again.
- Preventing Freeze Damage: This is the big one. It involves getting every last drop of raw water out of the cooling passages and replacing it with non-toxic marine antifreeze. No water, no ice, no cracks.
- Stopping Corrosion: We do this by coating the inside of the cylinders with fogging oil and swapping out the old engine oil. This gets rid of contaminants that would otherwise cause internal rust and pitting.
- Stabilizing the Fuel System: Today’s ethanol-blended fuels can go bad in a hurry, leaving behind gummy deposits that clog everything up. A quality fuel stabilizer stops this breakdown in its tracks.
- Preserving Electrical Systems: It’s as simple as disconnecting the battery and making sure the connections are protected from moisture. This prevents corrosion and helps your battery hold its charge until you need it again.
Getting Your Winterization Toolkit Ready
Before you even think about touching the engine, let's talk about getting organized. Trust me, there’s nothing worse than being halfway through a job, covered in oil, and realizing the one wrench you need is still in the garage. A little prep work here saves a massive headache later.
Think of it like a surgeon laying out their instruments. Having everything you need on hand not only speeds things up but also keeps you from making clumsy mistakes. Trying to force the wrong tool can strip a bolt in a heartbeat, and grabbing the wrong fluid can cause real damage. Let's get it right from the start.
The Essential Tools of the Trade
You don't need to roll out a professional mechanic's toolbox, but there are a few items you simply can't do without. Most of these should already be in a boater's basic kit, but a couple are winterizing-specific.
- Socket and Wrench Set: This is your bread and butter for drain plugs, hose clamps, and filter housings. Make sure you have both standard and metric sizes—you never know what you'll find on your engine.
- Oil Filter Wrench: That oil filter has been clamped on tight all season, and it's not going to want to let go. A dedicated filter wrench gives you the leverage you need without mangling the filter.
- Screwdrivers: You’ll need a decent set of Phillips-head and flat-head screwdrivers for everything from small access panels to hose clamps.
- Raw Water Flushing Kit: These are often called "muffs." This simple device snaps over the raw water intake on your outdrive and connects to a garden hose, letting you safely run the engine out of the water to flush it with antifreeze. It's a must-have.
- Fluid Extractor Pump: If you have an inboard engine, chances are you can't get to the oil drain plug. A fluid pump is your only option, letting you suck the old oil out right through the dipstick tube.
A Pro Tip from the Trenches: So many DIYers overtighten drain plugs when they put them back. This can strip the threads or even crack the oil pan, turning a routine job into a catastrophic repair. Use a torque wrench and stick to your manufacturer's specs.
Fluids and Safety Gear You Can't Skimp On
Using the right fluids is just as critical as using the right tools. This is one area where cutting corners can have disastrous results for your engine and the environment.
First, let's talk marine-grade antifreeze. This is absolutely not the same stuff you put in your car. Automotive antifreeze (ethylene glycol) is extremely toxic to fish and wildlife. You must use a non-toxic, propylene glycol-based antifreeze. It’s designed for marine use and is biodegradable. Look for one rated to at least -50°F (-45°C); that gives you plenty of protection for even the harshest winters.
Here are the other liquids you’ll need on deck:
- Fuel Stabilizer: Today's ethanol fuels can go bad in just a couple of months, leaving behind a gummy mess that clogs up your fuel system. A good marine fuel stabilizer is cheap insurance against a big problem in the spring.
- Engine Oil and Filter: Get enough fresh oil and a new, model-specific filter. You want to get the old, contaminated oil out before storage. Leaving it in all winter lets acidic byproducts eat away at internal engine parts.
- Fogging Oil: This is an aerosol spray that you shoot into the engine’s air intake just before shutting it down for the last time. It coats the cylinders, pistons, and other internal parts with a fine layer of oil, preventing rust from forming during the long, damp layup.
- Safety Gear: Don't be a hero. You're going to be dealing with oil and chemicals. A simple pair of nitrile gloves and safety glasses will keep your hands clean and your eyes safe. It's a simple step that makes the whole process cleaner and safer.
Alright, let's get down to the nitty-gritty. This is where the real work of winterizing your engine begins—the hands-on part that protects your investment through the cold months. We'll walk through the process in the right order, hitting the critical points for both inboard and outboard engines to make sure nothing gets missed.
Think of this as a three-part mission: first, we stabilize the fuel; second, we protect the internal metal with fresh oil; and third, we safeguard the cooling system from freezing solid. Getting the sequence right is everything. For example, you have to run the engine to circulate the fuel stabilizer and warm up the oil before you drain it. It just makes the whole process smoother and more effective.
Doing this right is about more than just preventing a cracked block. It's about preserving your engine for years of reliable fun. As the recreational boating market continues to grow, proper off-season maintenance is what separates a smooth spring launch from a season of headaches.
Let's get to it.
Stabilizing the Fuel System
First things first: we need to protect the fuel system from itself. Today's gasoline, especially ethanol blends, can start to go bad in just a few months. When that happens, it leaves behind a gummy varnish that will clog everything—fuel injectors, carburetor jets, and filters. That's a guaranteed recipe for a no-start headache come springtime.
The fix is straightforward: a good marine fuel stabilizer.
- Top Off the Tank: Before adding anything, fill your fuel tank until it's about 95% full. Why? A full tank leaves very little room for air, which drastically cuts down on condensation forming inside as the temperature swings. Water in your fuel is an engine killer.
- Add the Stabilizer: Read the bottle. The instructions will tell you exactly how much to use for your tank size. If you're on the fence, a little extra is better than not enough. Pour it right into the tank.
- Run the Engine: This is the part people forget. Just dumping stabilizer in the tank won't do the trick. You need to get that treated fuel through the entire system. Start the engine and let it run for 10-15 minutes. This pulls the stabilized fuel through the lines, pumps, and filters, and right into the carburetors or injectors, protecting every last component.
Skipping that 15-minute run is one of the most common mistakes I see. It leaves the most delicate parts of your fuel system completely vulnerable.
Changing the Engine Oil and Filter
Now that the engine is warm from circulating the stabilizer, it’s the perfect time to change the oil. I get this question all the time: "Can't I just wait until spring?" The answer is always a hard no. Doing it now is critical for your engine's health.
Old, used oil is full of nasty stuff. It’s loaded with acids and water, which are byproducts of combustion. If you let that corrosive sludge sit in your engine all winter, it will slowly eat away at sensitive parts like bearings and cylinder walls.
The method depends on your engine:
- For Inboard Engines: Most inboards make this tricky since they don't have a simple drain plug. You'll need an oil extractor pump. Just feed the pump's tube down the dipstick hole and pump the old oil out into a waste container.
- For Outboards and Sterndrives: These are usually much simpler. You can typically get right to the drain plug on the lower unit. Get a drain pan in position, pull the plug, and let it all drain out.
Once the old oil is gone, spin on a new oil filter. Here’s an old mechanic’s trick: wipe a thin film of clean oil on the new filter’s rubber gasket before you install it. It helps create a perfect seal. Then, just refill the engine with fresh marine-grade oil, using the type and amount recommended by the manufacturer.
Safeguarding the Cooling System from Freezing
This is the big one. If you mess up this step, you could be looking at a cracked engine block, which is a catastrophic and expensive failure. The goal here is simple: get every single drop of raw water out and replace it with non-toxic propylene glycol antifreeze.
This diagram shows the basic gear you'll need—tools, fluids, and safety equipment. It’s always best to have everything laid out and ready before you start.
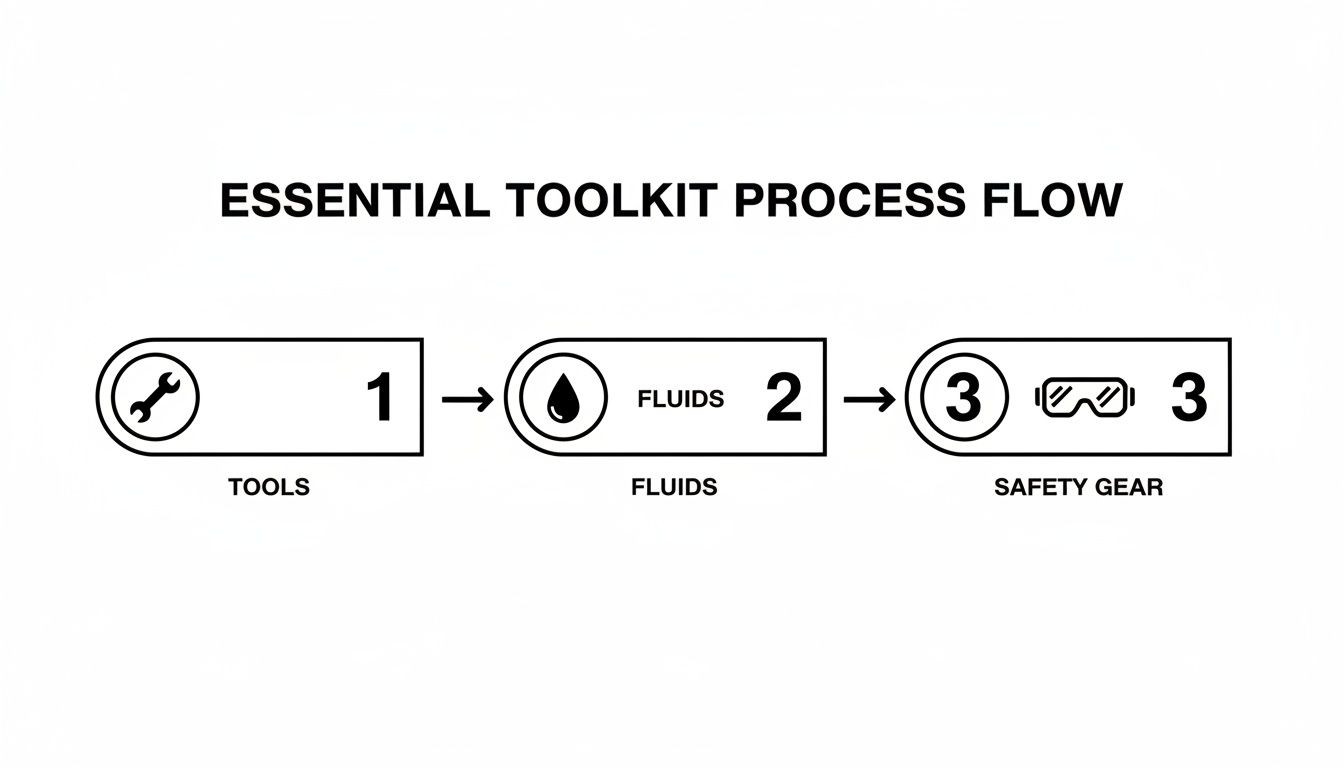
Having the right stuff on hand means you won't have to stop mid-job, which is how mistakes happen.
Your approach will depend entirely on your engine type.
- For Outboard Engines: This couldn't be easier. Modern outboards are designed to drain themselves. Just tilt the engine all the way down to its normal running position, and gravity will take care of the rest. All the water will pour right out of the powerhead.
- For Inboard and Sterndrive Engines: This is a much more hands-on job. These engines have a complex network of cooling passages that trap water. You've got two main ways to handle it.
Draining the Block Manually
The old-school method is to open every drain plug on the engine block and exhaust manifolds. There can be several, and they hide in different spots depending on the manufacturer, so you absolutely need your owner’s manual for this. Missing even one plug can spell disaster. After you pull the plugs, I recommend poking a piece of wire into the holes to break up any rust or gunk that could be blocking them.
Even when you think you've drained it all, there's always a little water left hiding somewhere. That's why I always recommend flushing with antifreeze even after a manual drain—it's the only way to be 100% sure.
Circulating Antifreeze
This is the most foolproof method, hands down. By running antifreeze through the system, you force out any leftover water and leave nothing but pure freeze protection behind.
Here’s a typical rundown for a raw-water-cooled inboard or sterndrive:
- Hook Up a Water Source: Connect your flushing muffs to the water intakes on the outdrive, or run a hose directly to the engine's raw-water intake.
- Get the Antifreeze Ready: You'll need about 5 gallons of non-toxic marine antifreeze (the pink or blue stuff). Put the end of your intake hose into the bucket. It helps to have a friend hold the hose so it doesn't pop out.
- Start the Engine: Fire it up. The engine's water pump will start sucking the antifreeze from the bucket into the cooling system.
- Watch the Exhaust: Keep your eyes on the exhaust ports. In a minute or two, you'll see the colorful antifreeze start spitting out. Let it run for another 30 seconds once you see a solid stream of antifreeze to be sure it has filled the entire block and manifolds.
- Shut It Down: As soon as you see that solid stream, kill the engine immediately. You're done.
This method gives you total peace of mind, knowing your engine is completely protected.
Fogging the Engine to Prevent Internal Rust
The final protective step is "fogging" the engine. This prevents rust from forming inside the cylinders. As temperatures fluctuate in storage, condensation can form on the cylinder walls, pistons, and rings. Fogging oil coats all those internal metal surfaces with a thin, protective layer of oil.
The technique is a little different for carbureted vs. fuel-injected engines.
- For Carbureted Engines: While the engine is running (doing this while you circulate antifreeze is a great way to kill two birds with one stone), pull the flame arrestor off the carburetor. Spray the fogging oil in short bursts right down the carb's throat. The engine will sputter and you'll see a lot of white smoke—that’s exactly what you want. Keep spraying until the engine chokes out and stalls.
- For Fuel-Injected Engines: Do not spray fogging oil into the throttle body; you can damage the sensors. Instead, the proper way is to use a small, separate fuel tank. Fill it with a gas-oil mix according to the directions on the fogging oil can, and run the engine on that special mix for the last few minutes until it's fully fogged.
Once the engine is fogged, that's it. Don't be tempted to start it again until you're ready to de-winterize in the spring. Taking the time to follow these steps is how you properly winterize a boat engine and guarantee a trouble-free start to your next season on the water.
Protecting Your Boat Beyond the Engine
Getting the engine squared away for winter is a huge milestone, but don't call it a day just yet. Your boat has a lot of other systems that are just as vulnerable to a long, cold layup. If you ignore them, you're setting yourself up for burst pipes, dead electronics, and a miserable start to the next season.
I like to think of the engine as the heart, but the electrical and plumbing are the boat's circulatory and nervous systems. They're all critical. This is a big reason why so many owners turn to the pros in the fall; a good service department handles everything from the engine to the batteries and freshwater lines. You can actually read more about these professional service trends on NMMA.org.
Mastering Battery and Electrical Care
Come springtime, one of the most common things that keeps a boat from starting is a dead battery. If you leave it connected all winter, small electrical draws will slowly drain it. A discharged battery can freeze, and when it does, the internal plates can be permanently wrecked. Taking care of your battery isn't optional—it's essential.
The absolute best thing you can do is fully charge the battery, then disconnect the negative terminal. That simple step stops any parasitic drain in its tracks.
For maximum protection, pull the battery out of the boat completely. Store it somewhere cool and dry, like a garage shelf or basement corner, and hook it up to a smart trickle charger.
A smart charger (or battery maintainer) is key here. It won't overcook your battery. It just monitors the voltage and gives it a little juice when needed, which is the secret to getting the longest possible life out of it.
With the battery out of the way, it’s a perfect time to give your electrical connections some attention. A quick shot of a moisture-displacing spray on your terminal blocks and a dab of dielectric grease on the battery posts will keep corrosion from setting in over the winter. This little bit of prep makes for a rock-solid connection when you power everything back up.
Winterizing Onboard Water Systems
If your boat has a galley sink, a head, or a shower, you absolutely have to winterize that system. Water left in those pipes, pumps, and tanks behaves just like it does in an engine block—when it freezes, it expands with enough force to burst plastic fittings and split copper lines. It can get messy and expensive.
The game plan is pretty similar to winterizing your engine’s raw water circuit:
- Get it all out. First, open every single faucet and fixture. Then, run your freshwater pump until it's just spitting air. Don't forget the hot water heater if you have one; they almost always have a separate drain plug near the bottom.
- Blow out the lines. For extra peace of mind, use an air compressor on a low-pressure setting to blow any stubborn water out of the plumbing.
- Bring in the pink. Finally, you need to get non-toxic, propylene glycol antifreeze into the system. You can either pour it into your empty freshwater tank or, even better, use a bypass kit to let the pump suck it straight from the jug. Run each faucet, both hot and cold, until you see bright pink antifreeze coming out.
Choosing Your Boat's Winter Coat
The final layer of defense is the cover. This is what stands between your boat and months of snow, ice, rain, and UV damage. You’ve really got two main options here, each with its own trade-offs.
Standard Canvas Covers
These are the reusable covers that often come with the boat. They’re convenient and pay for themselves over time, but they have a weakness: they need a solid support frame underneath. Without one, heavy snow or rain will cause them to sag and pool, which can stretch the fabric or even tear it.
Professional Shrink Wrap
This is the gold standard for winter protection. Shrink wrap creates a drum-tight, seamless shield that sheds snow and ice like a dream. It can also be ventilated to stop moisture and mildew from getting a foothold underneath. It is a single-use product and costs more each season, but for boaters in regions with heavy snowfall, that superior protection is often worth every penny.
| Feature | Standard Cover | Shrink Wrap |
|---|---|---|
| Cost | Higher upfront, lower over time | Lower upfront, recurring annual cost |
| Protection | Good, but can pool water/snow | Excellent, sheds all precipitation |
| Durability | Can tear under heavy loads | Very strong and form-fitting |
| Ventilation | Relies on cover design | Vents can be installed for airflow |
| Reusability | Yes, for multiple seasons | No, single-use only |
Whether you go with a well-supported canvas cover or opt for a professional shrink-wrap job, protecting your boat's exterior is that last, critical step. It’s what ensures that when you pull back the cover in the spring, your boat is as clean and ready for the water as the day you put her away.
Common Winterizing Mistakes and How to Avoid Them
I've seen it a thousand times: even seasoned boat owners make a small mistake during winterization, only to face a shockingly expensive repair bill come springtime. Getting it right the first time is all about knowing the common traps. Learning how to properly winterize a boat engine isn't just about following steps; it's about understanding why you're doing them.
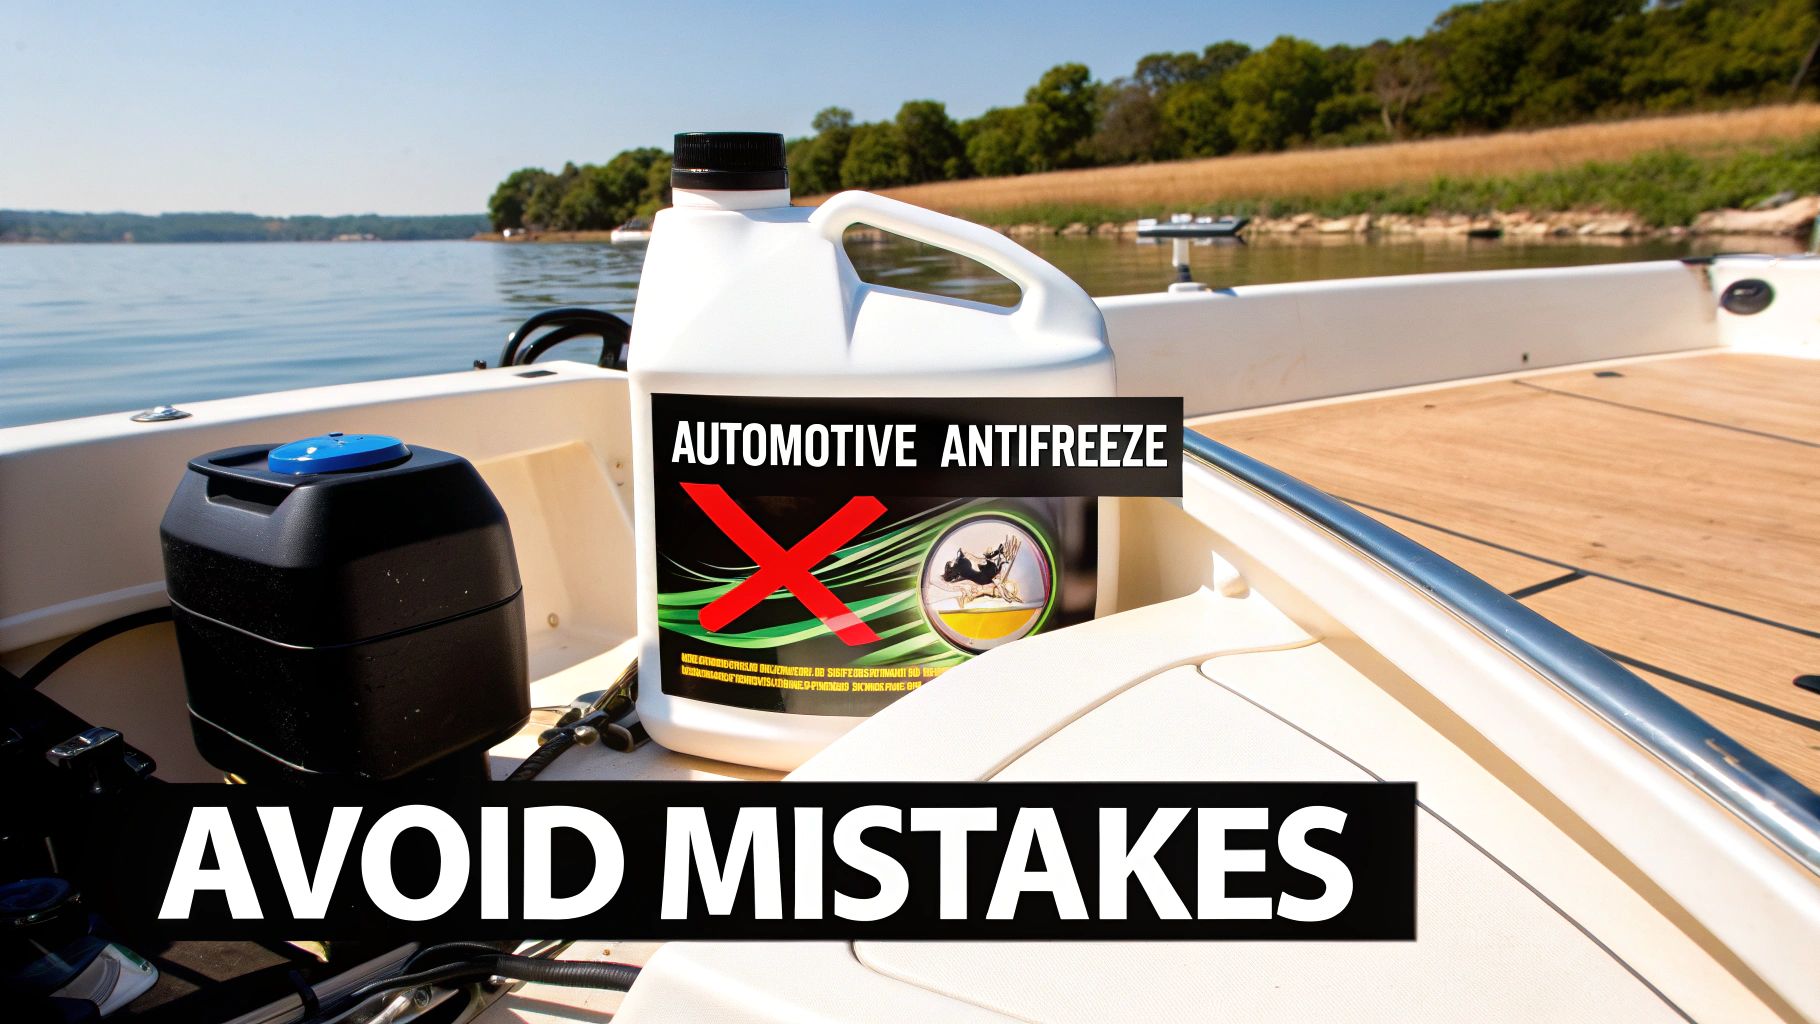
One of the most frequent—and damaging—errors is simply grabbing the wrong jug of antifreeze. It’s an easy mistake to make, but putting automotive (ethylene glycol) antifreeze in your boat’s engine is a complete disaster. It’s not only highly toxic to marine life, but its chemical properties will chew through the rubber impellers and seals inside your engine.
Stick to non-toxic, propylene glycol marine antifreeze. No exceptions. It's designed specifically for the job, protecting your engine's components and the waterways we all enjoy.
Forgetting Just One Drain Plug
This is the big one. Missing a single drain plug can be a catastrophic, season-ending mistake. Water loves to hide in small pockets throughout the engine block and exhaust manifolds. When that water freezes, it expands with enough force to crack solid cast iron. That’s a repair that easily runs into the thousands, and sometimes means you’re shopping for a new engine.
Don't go by memory alone. Pull out your engine’s service manual. It will have a diagram showing you exactly where every single drain plug is located. As you pull each one, probe the hole with a piece of wire or a thin screwdriver to dislodge any sediment or rust that might be blocking water from getting out.
Here's something that surprises a lot of people: insurance data shows a huge number of freeze-damage claims come from states with milder winters. It only takes one unexpected cold snap to catch boaters off guard and cause the same damage as a long, harsh northern winter.
This just proves that no matter where you live, being meticulous about draining is absolutely non-negotiable.
Tailoring Your Approach to Your Climate
Winterizing isn't a one-size-fits-all procedure. What a boater in the Great Lakes needs to do is completely different from what someone in South Florida should be focusing on.
-
Cold Climates (Northeast, Great Lakes): Ice is your mortal enemy. Your entire process should revolve around a perfect antifreeze flush that pushes out every last drop of water. This is where freeze protection is everything, and cutting corners on the quality or amount of antifreeze is asking for trouble.
-
Mild, Humid Climates (South Florida, Gulf Coast): Down here, the main battle is against moisture and corrosion, not ice. A hard freeze is rare, but the relentless humidity will attack your fuel and electrical systems. For boaters in these regions, "winterizing" is really more like preparing for long-term storage. The priorities shift to a completely full fuel tank with a good stabilizer, diligent battery care, and ensuring the boat is covered and ventilated to fight off mildew.
Failing to adjust your strategy for your home port is a subtle but critical error. In the north, you’re trying to prevent your engine block from cracking. In the south, you’re fighting off rust, bad fuel, and electrical gremlins. Each requires a specific game plan to properly winterize a boat engine for the off-season.
Your Top Boat Winterization Questions, Answered
Even with the best checklist in hand, questions always come up. It's only natural. When you’re dealing with an expensive engine, you want to be absolutely sure you’re doing things right, because one small mistake can lead to a very big repair bill come spring.
Here are the straight-up answers to the questions I hear most often from boat owners tackling their own winterization.
Can I Just Use Car Antifreeze in My Boat?
Absolutely not. This is a hard-and-fast rule you never want to break. The green stuff you put in your car contains ethylene glycol, which is incredibly toxic to marine life. Even a small amount released into the water during your spring commissioning can do serious damage to the ecosystem.
Stick with a non-toxic, propylene glycol-based marine antifreeze. It’s made for this exact job—it’s biodegradable and won't harm the rubber impellers and seals inside your engine's cooling system.
Do I Really Have to Change the Oil Before I Store It?
Yes, and this isn't a step you should ever skip if you care about your engine's health. Over a season of running, your oil collects all sorts of nasty stuff: acids, water, and soot from combustion.
Letting that sludge-filled oil sit in your engine all winter is asking for trouble. Those corrosive bits can settle and start eating away at bearings, cylinder walls, and other critical parts. A pre-storage oil and filter change leaves your engine bathing in clean, protective oil, stopping internal damage before it starts.
An engine filled with fresh oil is a happy engine in storage. Leaving old, acidic oil to sit for months is like inviting rust and corrosion to a party inside your crankcase. Don't skip this step.
What’s the Worst That Can Happen If I Don’t Drain the Engine Block?
This is probably the single most destructive mistake you can make, especially if you live where it freezes. When water turns to ice, it expands by about 9%. That might not sound like much, but the force it creates is immense—more than enough to crack a heavy cast-iron engine block or exhaust manifold like an eggshell.
We’re not talking about a simple fix here. A cracked block usually means a complete engine replacement, a bill that easily runs into thousands of dollars. Always, always double-check that every last drop of water is drained or has been replaced with marine antifreeze.
Should I Store the Boat with a Full or Empty Fuel Tank?
For winter layup, the best practice is to store the boat with the fuel tank around 95% full. A full tank minimizes the amount of empty space, and that's the whole point.
Less air in the tank means less room for condensation to form as the temperature bounces up and down over the winter. Water in your fuel is a recipe for engine problems and can cause corrosion inside the tank. Just remember to add a good marine fuel stabilizer to the tank before you fill it up, then run the engine for a few minutes to make sure the treated fuel circulates everywhere.
When winterization feels overwhelming or you want the assurance of a factory-certified expert, GTM International provides mobile, on-site engine services across South Florida. Protect your investment without the hassle by scheduling your professional winterization service at https://www.marinetechsvcs.com.
Article created using Outrank